Skip to content
LogoTechnipages
LogoTechnipages
  • Topics
        • Android
        • Browsers
        • Gaming
        • Hardware
        • Internet
        • iPhone
        • Linux
        • macOS
        • Office
        • Reviews
        • Software
        • Windows
        • Definitions
        • All Recent Posts
  • Product Reviews
  • About

Google Photos: How to Create a Collage

Mel HawthorneMarch 12, 2020 Comments (0)

High-quality pictures are one of the great achievements of modern technology. No matter the moment, we can save a near-perfect copy for all eternity if we want to – and we’ve moved past plain old photos. There are all sorts of things you can do with your pictures, but collages are certainly one of the most popular ones.

Unlike traditional versions that required paper, scissors, glue and a lot of patience, virtual collages can be created with just a few clicks, right in your browser.

If you want to create a collage in Google Photos, you first need to go to photos.google.com.

Tip: While this site is available on your phone and other mobile devices too, you’re better off using the Pictures app for it, rather than the website.

Sign in to your Google account and make sure the pictures you want to use are actually stored there – if they are not, upload them before proceeding. On the left, you’ll find an option labelled ‘For you’.

The For you and Collage options

Click on it, and then, at the top, select Collage. Next, you’ll have to pick the pictures you want to have in your collage. Choose between 2 and 9 images and, when you are ready, click on the Create link in the top right corner.

The Create button

Google Photos will auto-create a collage for you and save it into your photo storage folder as well. You can add filters, share your collage and more by using the controls in the top right corner.

Example collage

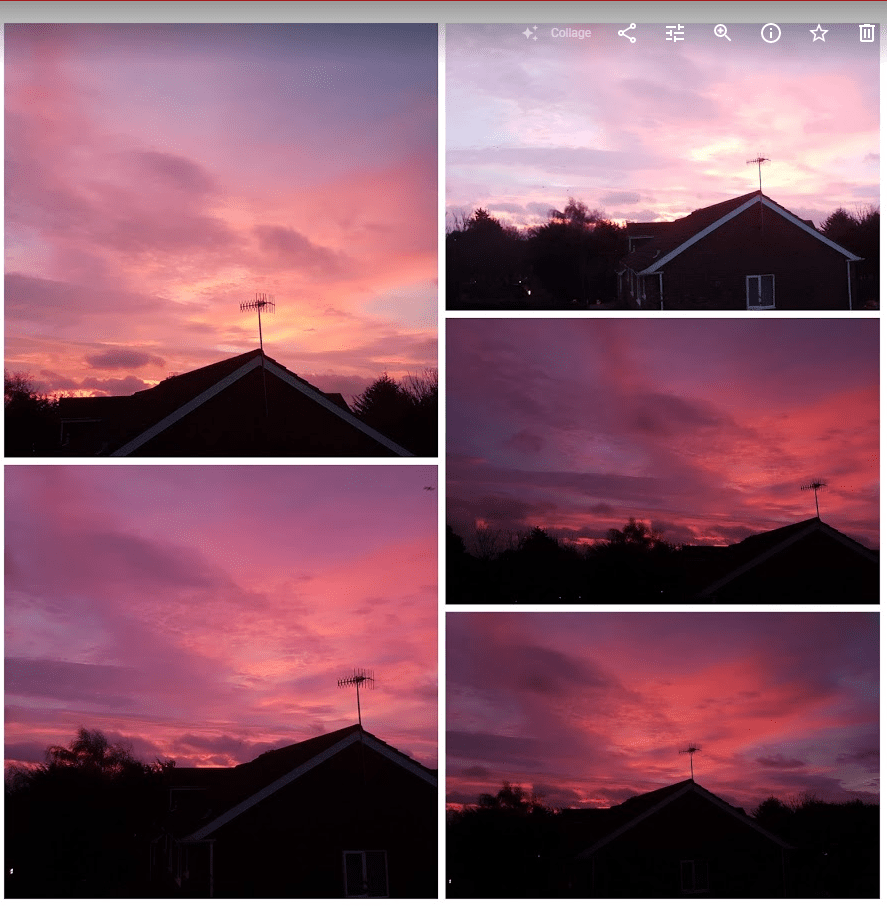
Tip: It will arrange the photos automatically, regardless of the order that you selected them in. Google auto-picks what it thinks will be the best arrangement for your pictures!

Categories: Software

Author Mel Hawthorne

You Might Also Like

  • Zoom: How to Increase the Maximum Number of Participants You Can See in the Gallery View

    Mel HawthorneSoftware
  • Slack: How To Change Your Password

    Mel HawthorneSoftware
  • Slack: How To Configure Automatic Slackbot Responses for Your Workspace

    Mel HawthorneInternet
  • Slack: How To Disable Public File Sharing

    Mel HawthorneInternet

Leave a Reply

Your email address will not be published. Required fields are marked *

how to allocate more memory to a program

How to Allocate More Memory to a Program in Windows

marvel rivals memory leak fix

Marvel Rivals Using Too Much Memory – How to Fix

how to create a macro in word

How to Create a Macro in Word

how to set video as screen saver

How to Set a Video as Your Screen Saver on Windows 11

how to fix 0xc000007b Error

Error 0xc000007b – What Is It and How to Fix It

profile pic

The Experts Behind Technipages

My name is Mitch Bartlett. I've been working in technology for over 20 years in a wide range of tech jobs from Tech Support to Software Testing. I started this site as a technical guide for myself and it has grown into what I hope is a useful reference for all.

Learn More

technipages logo white
linkedin icon

Technipages is part of Guiding Tech Media, a leading digital media publisher focused on helping people figure out technology. Learn more about our mission and team here.

© 2025 Guiding Tech Media All Rights Reserved

  • About Us
  • Contact
  • Legal & Privacy

© 2025 Guiding Tech Media All Rights Reserved

Information from your device can be used to personalize your ad experience.
Do not sell my personal information.

Last Updated on March 12, 2020 by Mitch Bartlett