Like many other big tech brands, Windows has focused on improving the security of its devices in recent years to combat the rising threat of malware and cyberattacks. TPM technology plays a part in this, which is why Windows 11 lists “TPM 2.0” as a requirement for installation.
But what is TPM 2.0, exactly? This guide explains what it is and how you can enable it.
What Is TPM 2.0?
TPM stands for Trusted Platform Module. It’s a piece of hardware – a tiny little chip either attached to or built into the motherboard of a PC. Despite many people only recently learning about TPM and TPM 2.0, this tech has been around since the early 2000s.
As for what it does, the TPM provides an extra layer of security for your device. Every time you turn it on, the TPM provides a kind of unlock code to the operating system. However, if someone tampers with the system, the TPM won’t provide that code, and the PC won’t work.
The “Windows Hello” system, which lets users log in and unlock their devices via facial recognition, fingerprint scans, or PINs also relies on the TPM. As do certain apps, like Outlook, which uses TPM tech to manage encrypted messages and data.
TPM 2.0 is simply the latest version of TPM tech. It was released in 2014.
How to Enable TPM 2.0
Now that you know what TPM 2.0 is and does, let’s learn how to set it up. On many devices, it’s already running by default, but there may be cases where you need to enable it manually, and this process varies from machine to machine.
You have to enable TPM 2.0 via the BIOS settings screen by restarting your PC in Recovery mode. The BIOS settings menu on one device can look quite different from another, as each PC manufacturer is responsible for this menu and has its own standards and layouts.
This can be a little complicated, so before you get into it, it’s worth checking that your device has a TPM in the first place and can support the TPM 2.0 standard.
Here’s how:
Step 1. Go to “Settings” by pressing “Windows” and “I” together or using the Start menu shortcut.
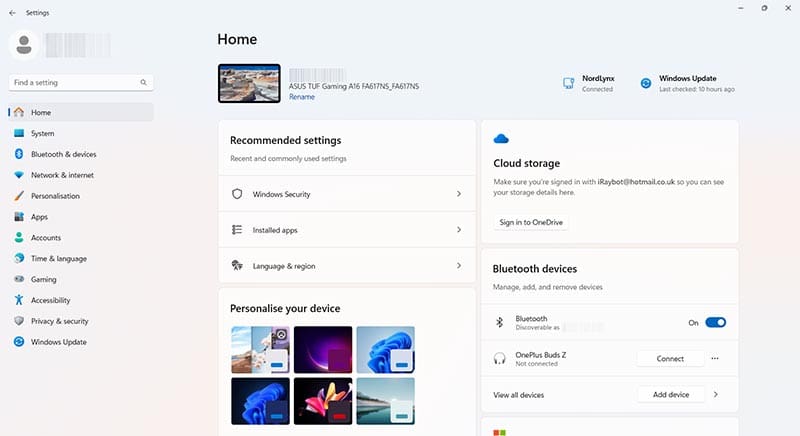
Step 2. Click on “Privacy & security” and then “Windows Security.”

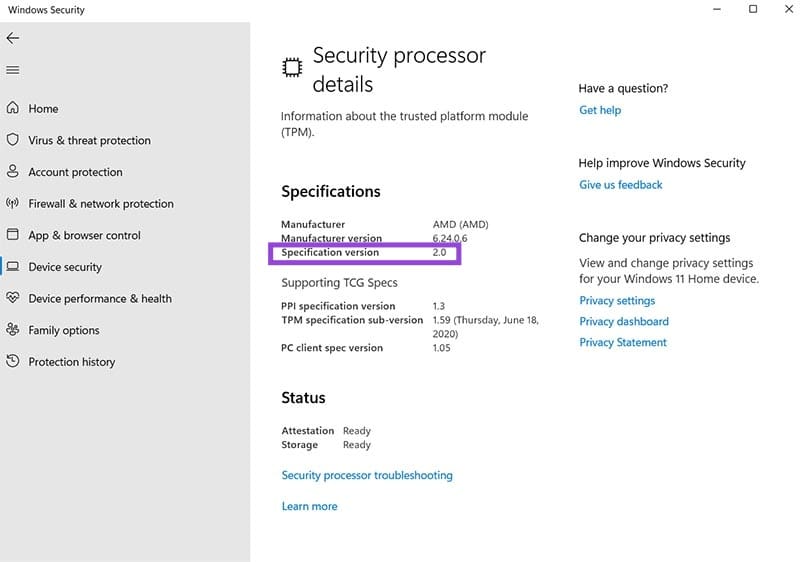
Step 3. Click “Open Windows Security” and click “Device Security.”
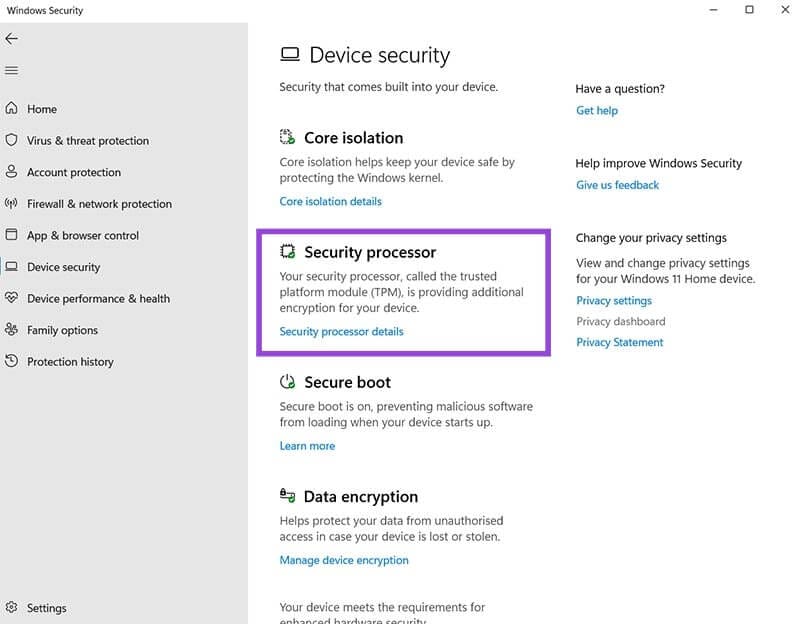
Step 4. Click “Security processor details” and look for “2.0” next to “Specification version.” If you see that, then you have TPM 2.0. If not, you may have an older TPM version or no TPM chip at all.
As long as your device supports TPM 2.0, you can go ahead and enable it via these steps:
Step 1. Open the “Settings” menu using either a shortcut or pressing “Windows” and “I” together.
Step 2. Go to “System” and then “Recovery.”

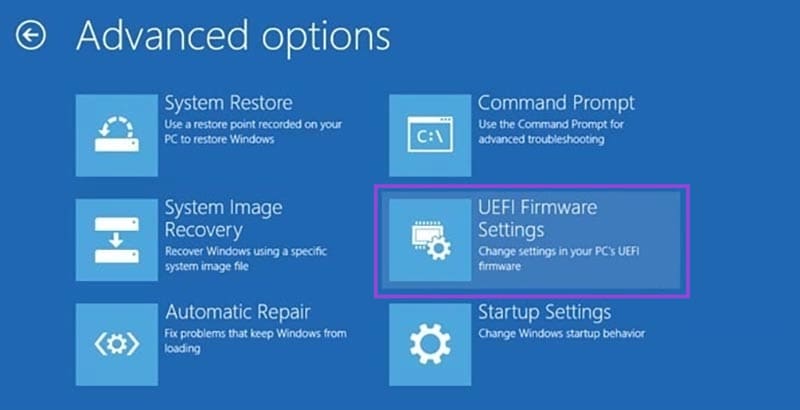
Step 3. Click the “Restart Now” button next to the “Advanced Startup” option. That’ll restart your PC. Click on the “Troubleshoot” button, when it appears. Then go to “Advanced options,” followed by “UEFI Firmware Settings,” and hit “Restart” again.
Step 4. The next screen you see will vary based on the make and model of your PC. They all look different. You need to find the setting to enable TPM 2.0, which should be in a menu called something like “Security Settings,” “Trusted Computing,” “Security Device,” or “Trust Technology.” Once you find the setting, enable it, and then save your changes and exit to load back into Windows.