The modern era of digital transactions has been a game-changer in the world of finance. At the forefront of this revolution, Google Pay is undoubtedly one of the most versatile tools at your disposal. Whether it’s paying for a quick coffee, handling online purchases, or even transferring money to friends and family, Google Pay simplifies these transactions to just a few taps on your Android device.
Although Google Pay is known for its user-friendly nature, diving into it for the first time can present some challenges. Here’s a comprehensive, step-by-step guide to help you set up and use Google Pay on your Android device.
Contents
How to Use Google Pay on Android
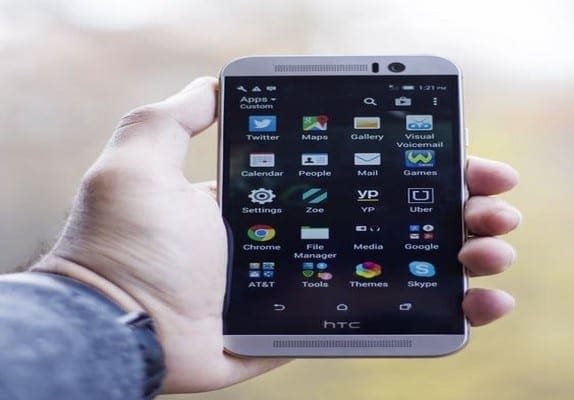
Before you get started, you need to install the Google Pay app from the Google Play Store. It’s a straightforward process – just search for Google Pay and tap ‘Install’. Make sure your device is connected to the Internet during this process.
- Once you’ve installed Google Pay, the next step is to add a payment method. This could be a debit card, credit card, or a bank account. Simply tap on the ‘Add’ button, and follow the on-screen instructions to enter your card or bank account details.

- For security reasons, Google requires you to verify the payment method that you’ve added. Verification methods may vary depending on your bank, but they typically involve receiving a text message or email with a verification code.
- Now that your payment method is set up and verified, you’re ready to make payments with Google Pay!

To pay at a physical store, unlock your phone and hold it near the payment terminal. For online or in-app purchases, look for the “Buy with Google Pay” button. The great thing about contactless payment methods such as Google Pay, Apple Pay, and Samsung Pay is that they are becoming more and more prevalent across different stores and locales.
You Can Even Send and Receive Money via Google Pay
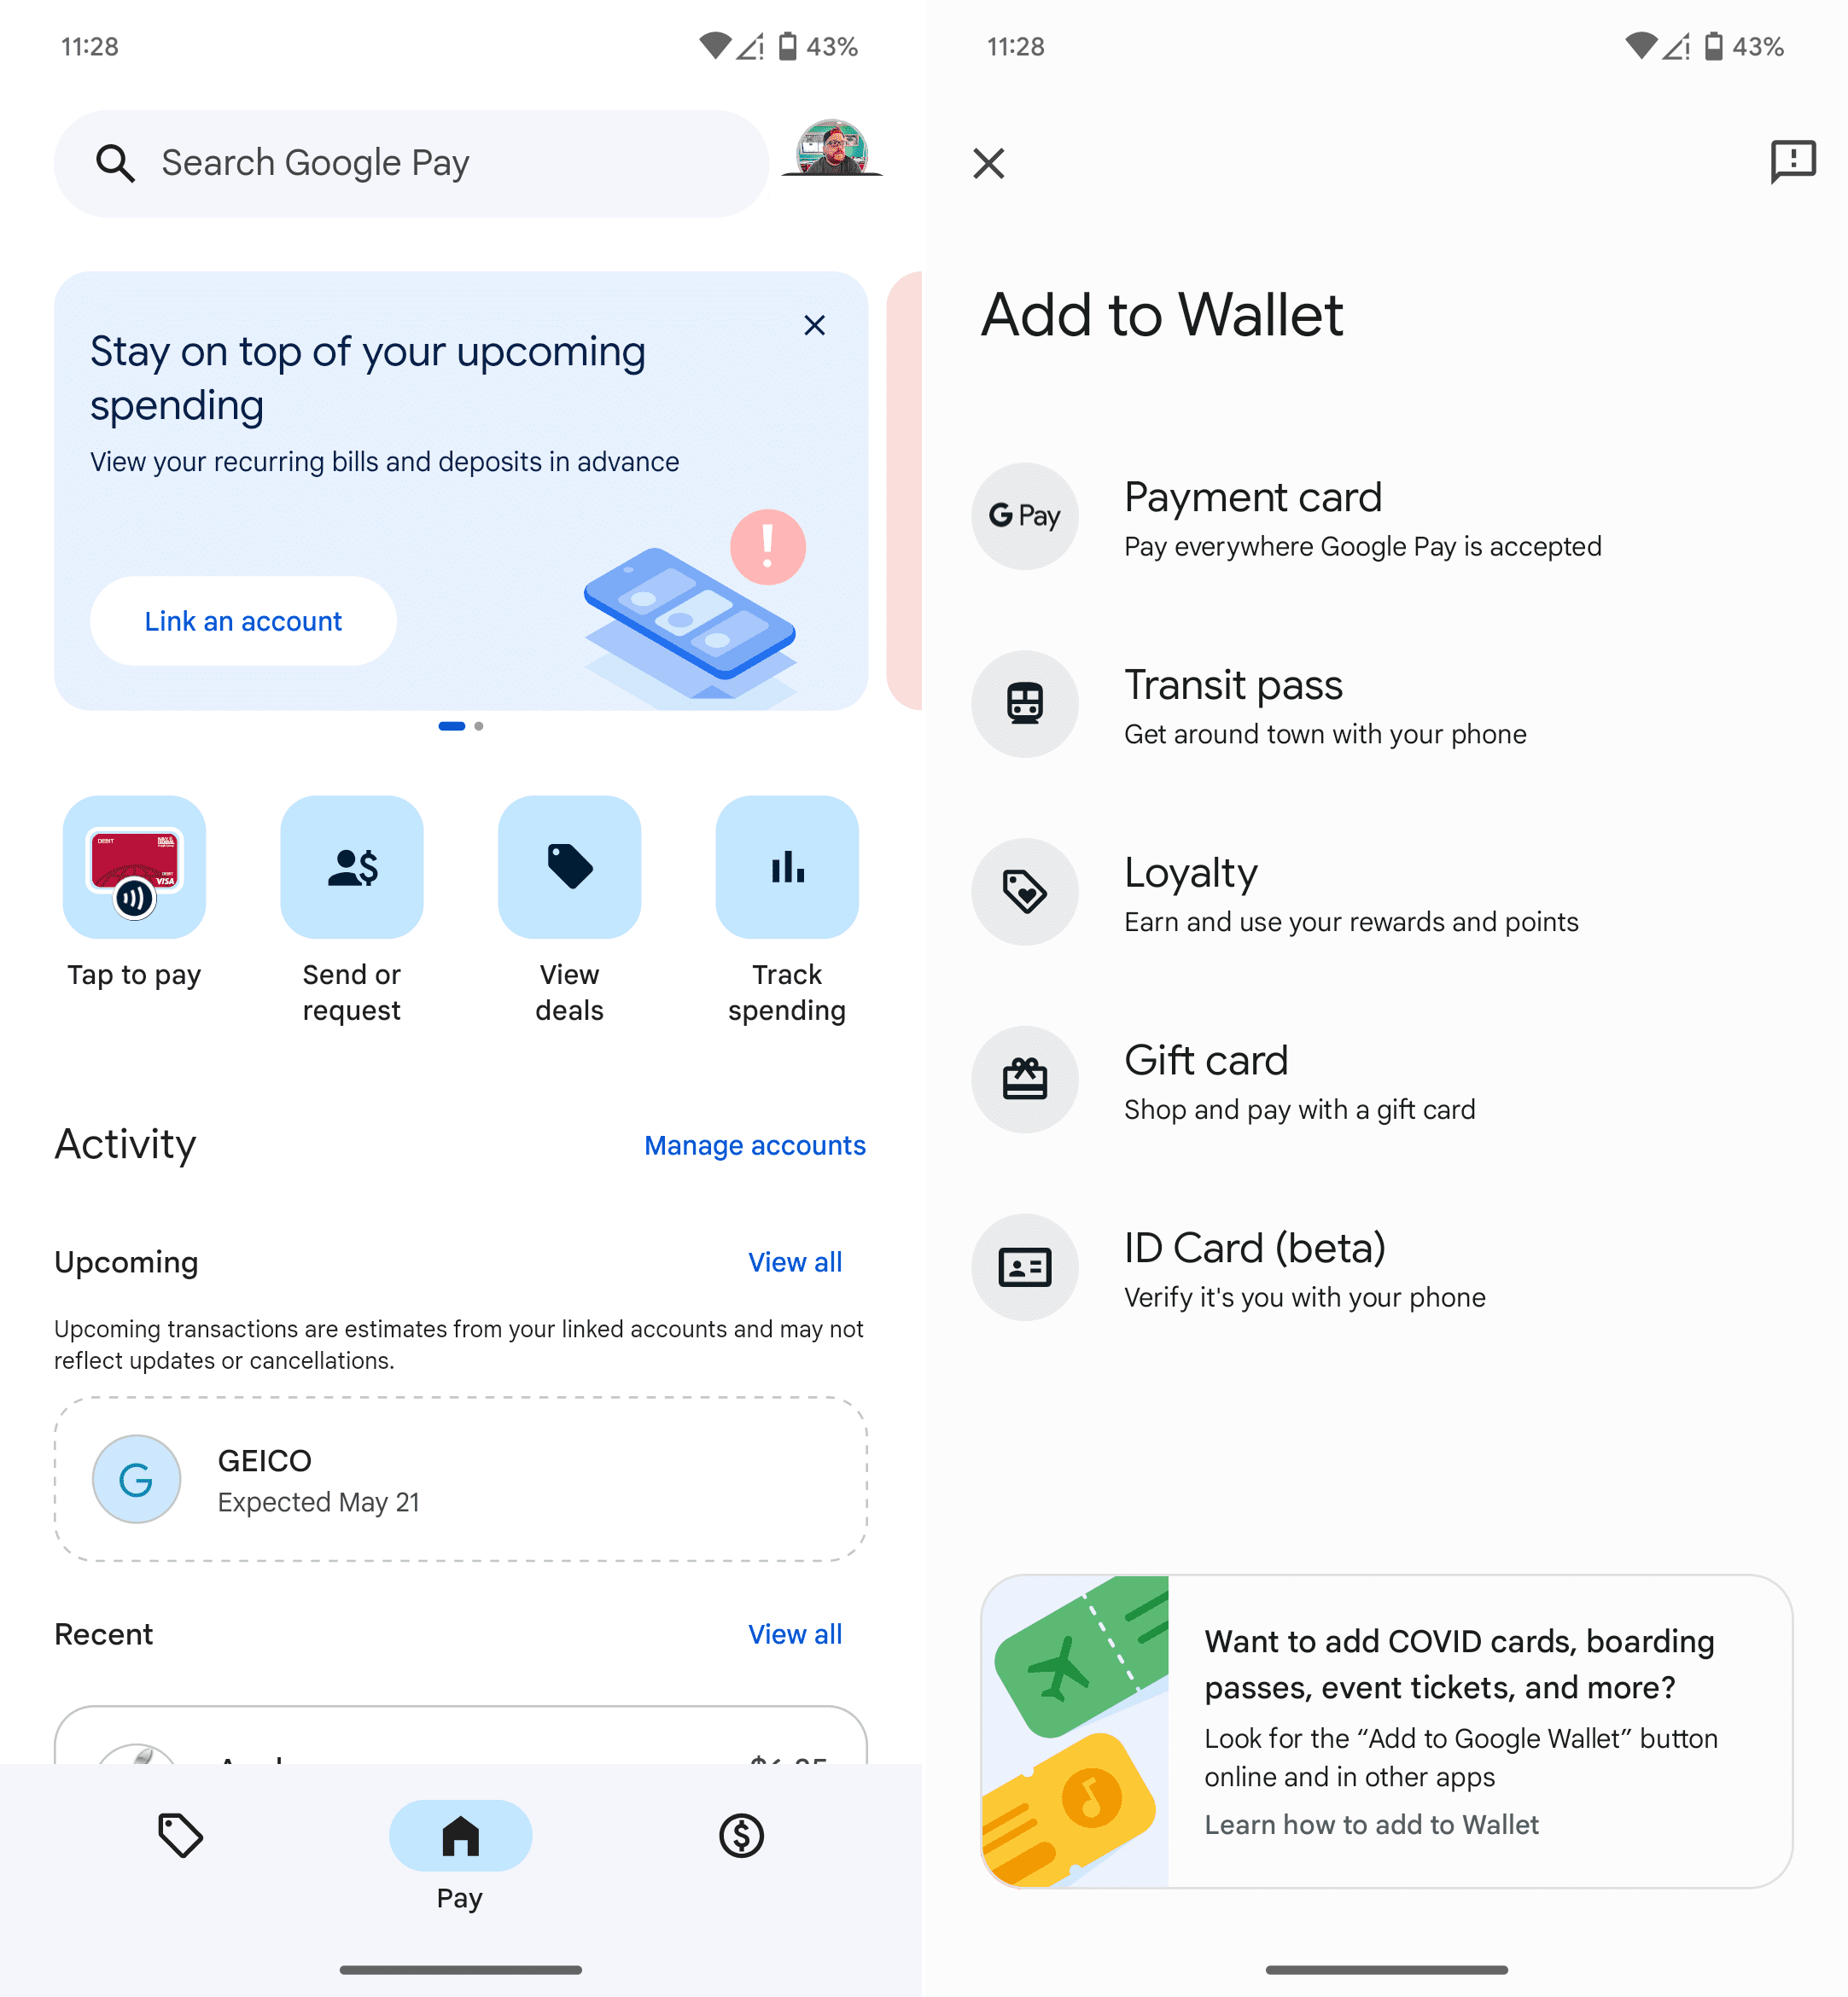
Google Pay isn’t just for shopping – it’s also a convenient way to send and receive money. To send money, tap on the ‘Send’ button, enter the recipient’s details, and the amount. To request money, it’s almost the same process, but instead of ‘Send’, you’ll tap on ‘Request’.
Keep Track of What You’re Spending with Transaction History
To keep track of your payments and transfers, Google Pay provides a comprehensive transaction history. You can view this by tapping on the ‘Menu’ button and selecting ‘Transaction history’.
Dipping your toes into the world of Google Pay may seem daunting at first. But once you’ve set up and started using it, you’ll find it’s a versatile and secure tool for handling your digital transactions. It’s one of those features that, once you start using it, you’ll wonder how you ever managed without it. So go ahead, give Google Pay a spin, and step into the future of finance!
What Are The Differences between Google Pay and Google Wallet
In the realm of digital wallets, Google has presented us with two significant offerings: Google Pay and Google Wallet. Both facilitate cashless transactions, but they serve different purposes and operate on distinct platforms, which may cause some confusion. Let’s unravel these digital wallets and highlight the key differences between Google Pay and Google Wallet.
Initially, Google Wallet was Google’s primary digital wallet, introduced as a platform for peer-to-peer transactions, allowing users to send and receive money from others. It was essentially an online version of your physical wallet, storing credit and debit card information and using it to make online purchases. Google Wallet also facilitated NFC tap-to-pay purchases in physical stores.
However, in 2015, Google launched Android Pay as a direct competitor to Apple Pay, focusing on contactless payments at physical stores and in compatible apps. Android Pay and Google Wallet continued to exist simultaneously until 2018, when Google decided to merge these services under one umbrella – Google Pay.
So, in essence, Google Wallet was the precursor to Google Pay, and the latter is not just a rebranding, but an evolution. Today’s Google Pay encompasses the functionalities of both Google Wallet and Android Pay. It allows for peer-to-peer transactions, storage of credit and debit card information for online purchases, and facilitates contactless payments at physical stores. Furthermore, Google Pay has expanded to include features like splitting bills, paying transit fares in select cities, and even getting cashback on purchases.
To sum up, while Google Wallet was a trailblazer in digital wallets and peer-to-peer payments, Google Pay is the modern incarnation that combines the best of Google Wallet and Android Pay. It offers a comprehensive suite of features, catering to the needs of the increasingly digital and contactless world of financial transactions.