
Linux Mint offers a broad variety of configuration options, including the ability to change how the title bar of any window acts.
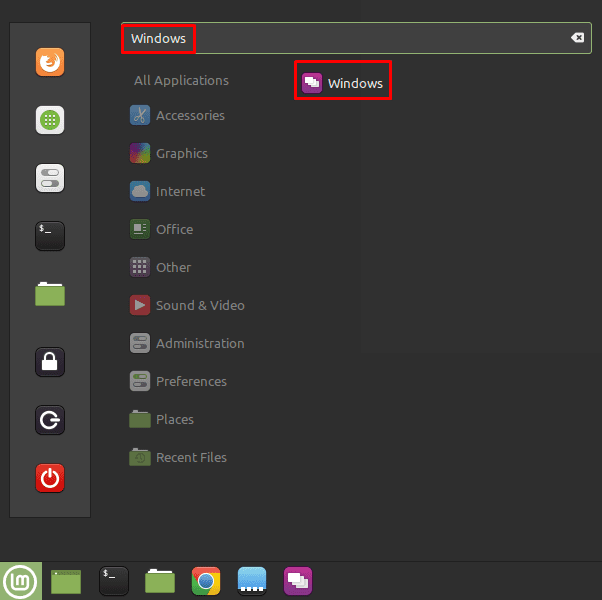
To configure the titlebar settings, press the Super key, then type “Windows” and hit enter.
Tip: The “Super” key is the name that many Linux distributions use to refer to the Windows key or the Apple “Command” key, while avoiding any risk of trademark issues.
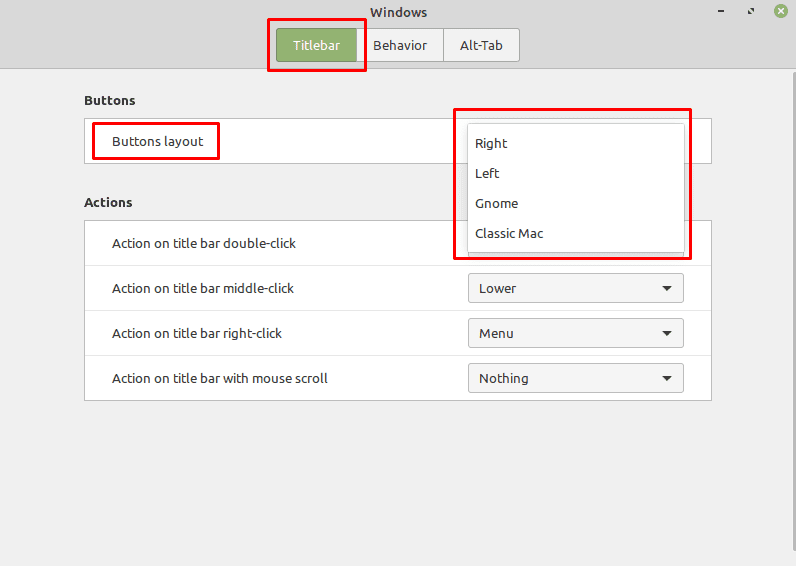
In the default “Titlebar” tab, the first option you can configure is where the minimise, maximise, and close window icons go, with the “Buttons layout” dropdown box. The buttons default to the right-hand side, as would be familiar for Windows users. The options allow you to position the buttons on the left, only show the “close window” button, or split the icons both left and right respectively.
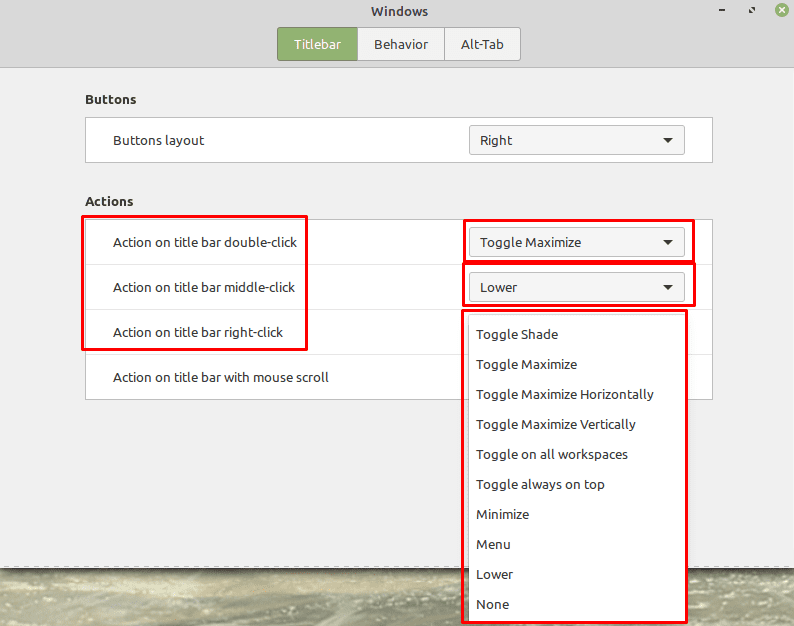
The next three options allow you to pick what happens when you double-click, middle-click, or right-click on a titlebar. Each option has the same list of available options, although they default to different values. You can configure the mentioned clicks to: “Toggle Shade”, “Toggle Maximise” “Toggle Maximise Horizontally”, “Toggle Maximise Vertically”, “Toggle on all workspaces”, “Toggle always on top”, “Minimise”, “Menu”, “Lower”, or “None”.
“Toggle Shade” hides the entire window with the exception of the titlebar. “Toggle Maximise” maximises the window or returns it to its previous window size. “Toggle Maximise Horizontally” does the same as “Toggle Maximise”, but only horizontally. “Toggle Maximise Vertically” does the same as “Toggle Maximise”, but only vertically. “Toggle on all workspaces” is used to set or unset a window to appear on all workspaces. “Toggle always on top” is used to enable or disable always on top for the window. “Minimise” minimises the window. “Menu” opens the right-click menu. “Lower” moves the window underneath all other windows but does not minimise it. “None” disables the action and has no effect.
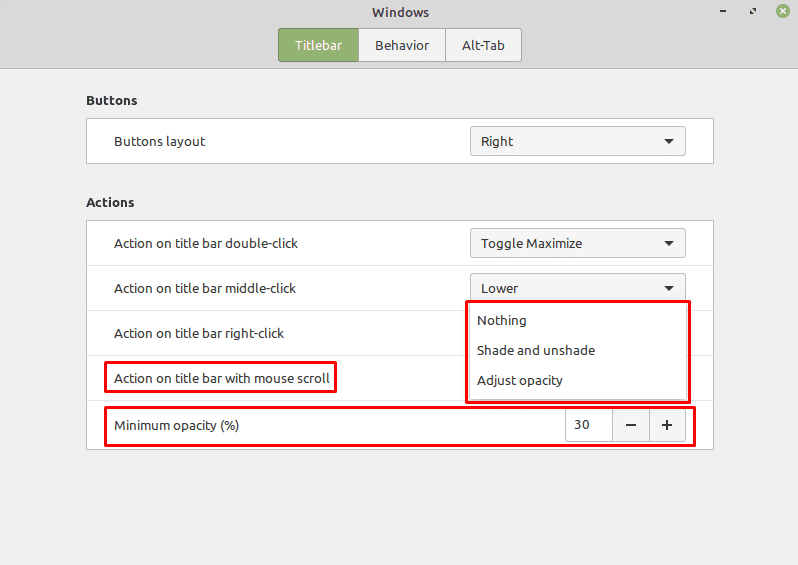
The last item allows you to configure what happens when you use the scroll wheel on the titlebar. This defaults to “Nothing”, but you can also choose “shade and unshade”, or “Adjust opacity”.
If you choose to use the scroll wheel to adjust the opacity of windows, you can also configure the minimum opacity you can apply to windows. This defaults to a minimum opacity of 30%, which should be enough for most cases.
Tip: Be very careful setting too low an opacity, you can make a window completely transparent, which can make it rather hard to find and fix.
No. I want the file path to show up on the window title so that if I’m looking at two same files from two different computers I’ll be able to tell which is which.
This did NOT help. There is no “opacity” setting as described!
How do I change the icons then?