
You need to add a watermark to your Google Docs document, but you don’t feel like leaving your file. The good news is that you don’t have to. Google Docs now has all the options you need to quickly add a watermark. You can choose by adding a text or image watermark. There’s also an option to adjust the transparency of it too. Let’s see how each option looks on your file, so you know which one to go with.
Contents
How to Add a Text Watermark in Google Docs
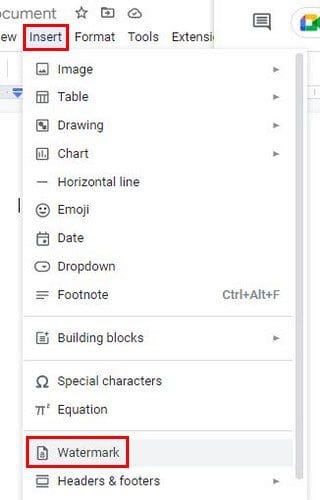
The options to add a text watermark or an image are in the same place. So, if you change your mind and want to try the other one, you won’t have to leave that area. To add your watermark, click on the Insert option at the top and click on the Watermark option. It’ll be near the bottom.
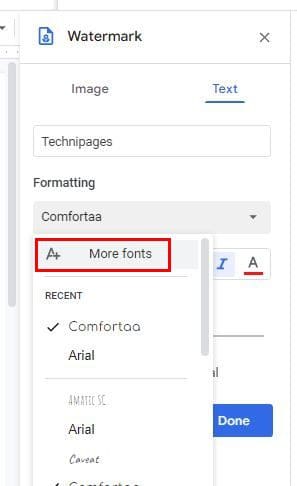
When you click on the Watermark option, a side menu will appear where you can choose if the watermark is going to be text or an image. Let’s go with the text option for now. In the first box, you can enter the text and, below that, the formatting. In the formatting option, you can choose from various fonts. If you don’t see any you like, you’ll also see an option to search for more. You’ll also see a Recent section where you’ll find the fonts you used recently, so they are easier to find.
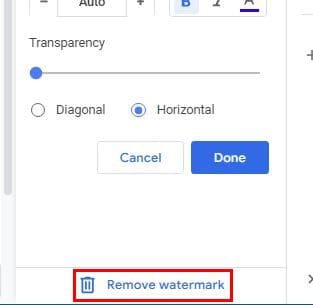
Other options you’ll see are to make the text bold and italic and also give it some color. You can also use a slider to make the watermark as transparent as you want. You can make the watermark diagonal or horizontal. Once you’ve made the necessary changes, click on the blue done button.
How to Edit Your Google Docs Watermark
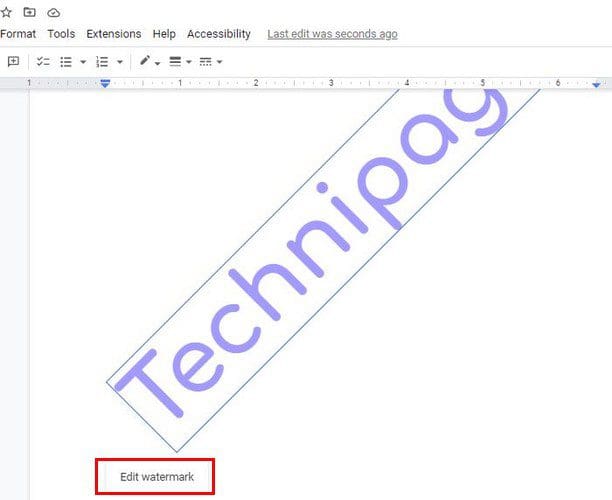
There is something about the watermark that doesn’t seem to convince you. To make some changes, right-click on the watermark and choose the Select Watermark option, followed by the Edit watermark option that should be to the side of the watermark.
The same options as before should appear. Once you change what you need to, click on the blue done button, and you’re good to go. You can also access the watermark using the same steps you followed to create it: Insert > Watermark.
How to Erase a Watermark in Google Docs
The changes didn’t convince you, and you want to erase them altogether. To do this, go to Insert > watermark. At the bottom, you’re going to see the Remove watermark option at the bottom.
You can also access the erase option by right-clicking on the watermark and clicking on the Edit Watermark option. By using this path, it’ll also be at the bottom.
Image Watermark
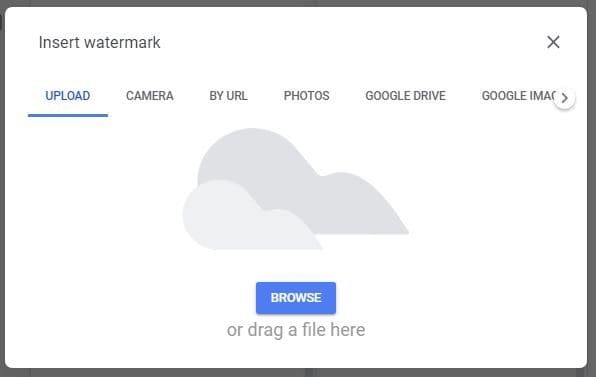
You’ll need to click on the Insert tab and choose the watermark option to add an image as a watermark. Instead of clicking text, click on the image option. Click on the Insert Image option and choose your source. You can upload the image from your computer and use the camera, URL, Google Photos, Google Drive, or Google Images.
Conclusion
That’s all there is to it. You can add an image or text to your Google Docs document and change it whenever you want. When adding text as a watermark, you can use different editing options to give it your own personal touch. What type of watermark will you be adding? Share your thoughts in the comments below, and don’t forget to share the article with others on social media.