
Despite the fact that eSIM’s are rising in popularity with carriers, every smartphone still features a traditional SIM card slot. This is so that you can swap a SIM card if something is going on with your network, or if you want to switch between phones or carriers. The Galaxy S22 is Samsung’s latest flagship phone, and these devices are extremely impressive so you’ll want to jump on board with your existing SIM card.
In order to remove the SIM card, you will need to know the location of the SIM tray, along with a SIM ejection tool. In the event that you can’t find the tool that is included in the Galaxy S22’s box, then you can also use a small bent paper clip. Although if you are using a paper clip, you need to be a bit more careful as to not scratch the phone.
Insert and Remove the Samsung Galaxy S22 SIM Card
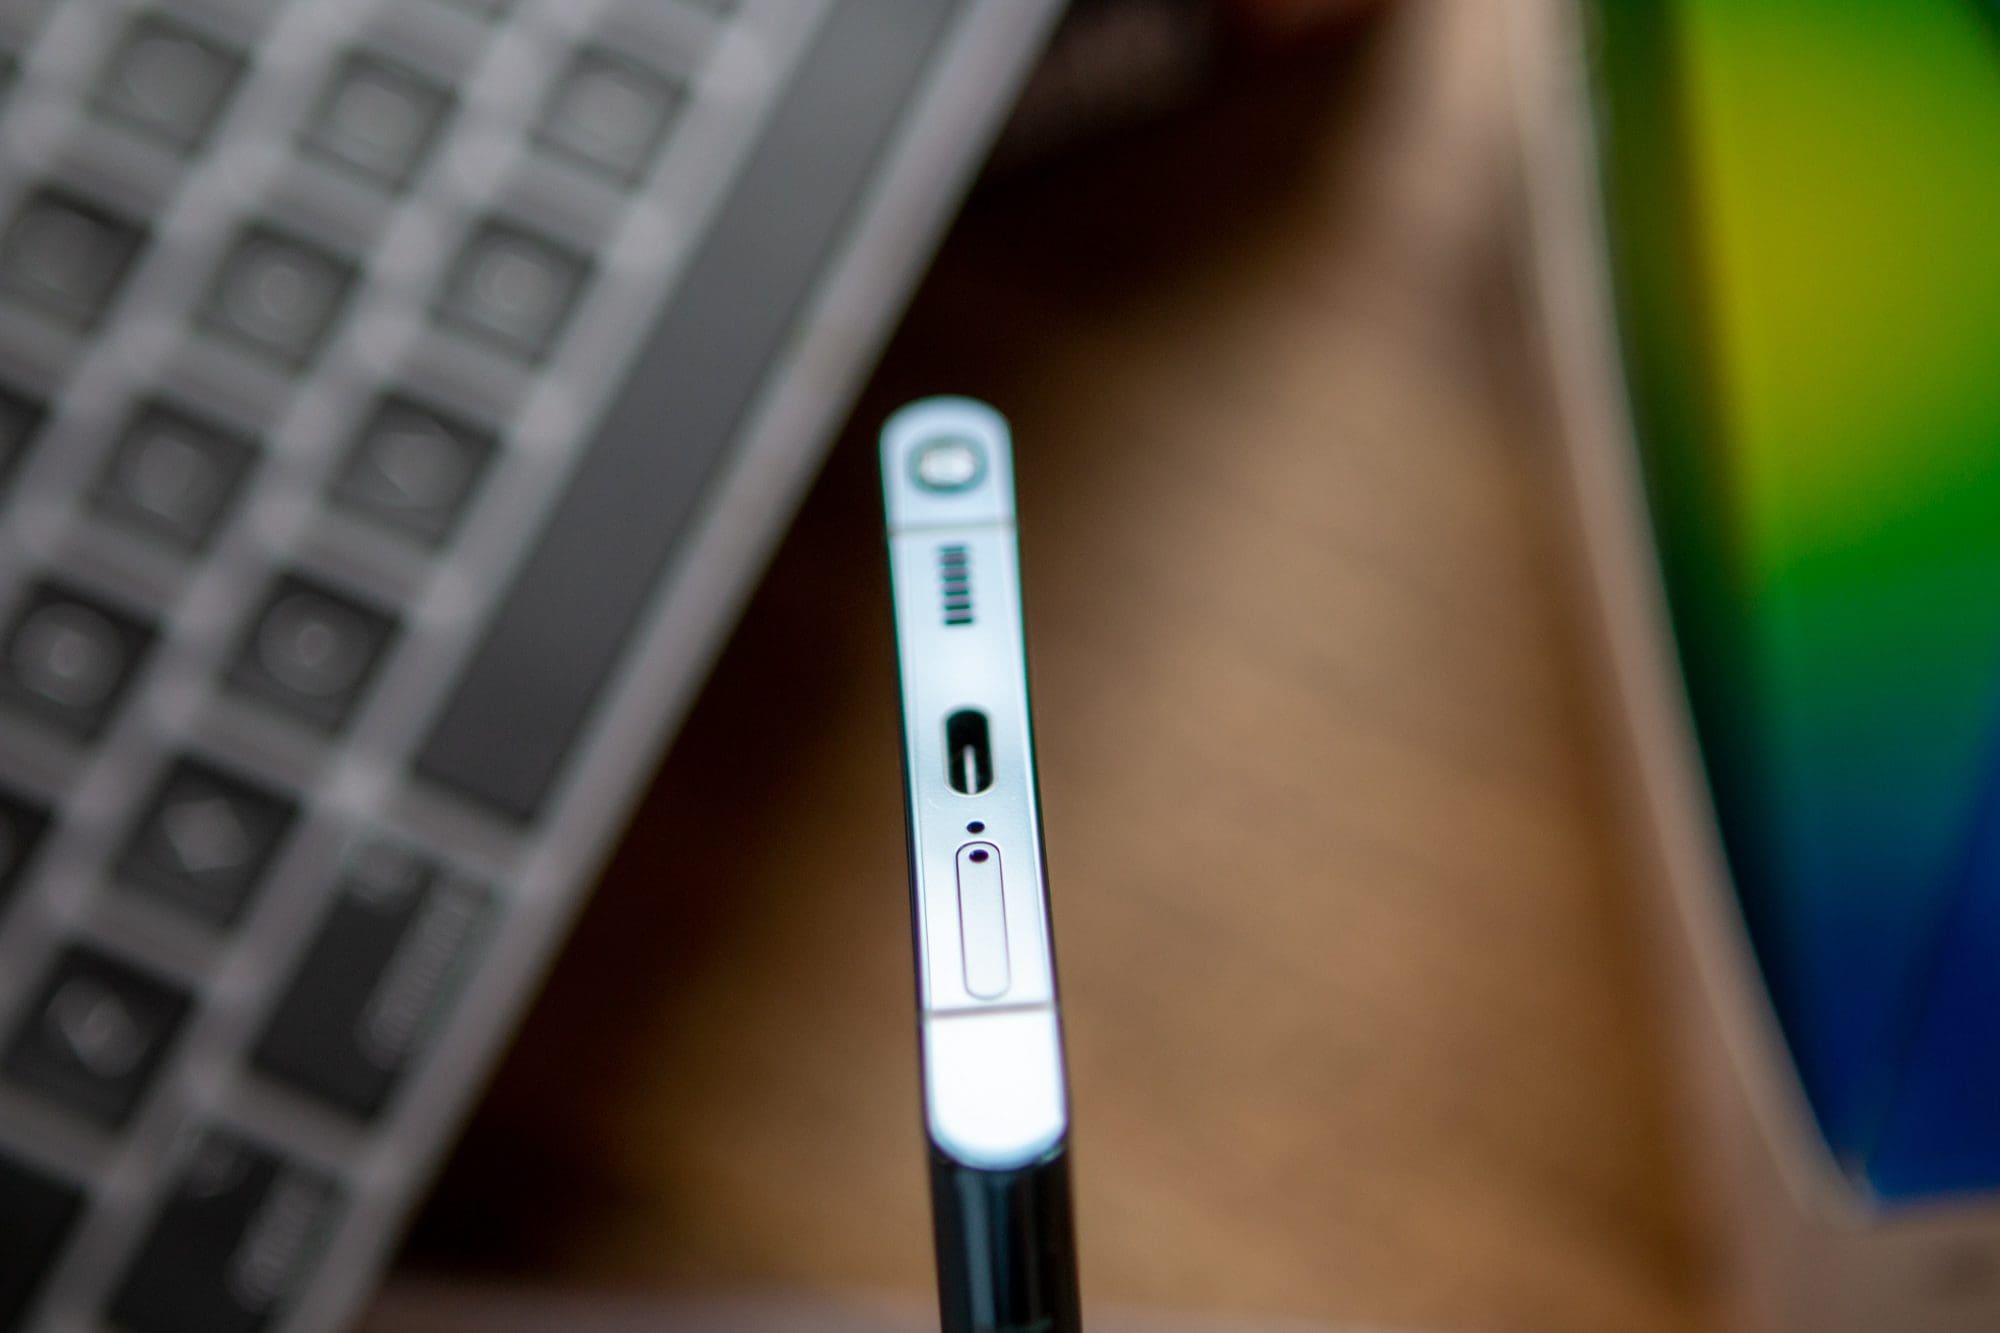
The SIM card tray is located on the outer frame of the front display. Look at the bottom of the Galaxy S22 or S22+, and the SIM card tray is located to the left of the charging port. Those who own the Galaxy S22 Ultra will find the SIM card tray placed to the right of the USB-C charging port. With the Ultra, you’ll need to be especially careful as there are two similar-sized holes placed right next to each other. One is a microphone for your phone, while the other is the ejection slot for the SIM card tray.
Here’s how you can remove the SIM Card from the Samsung Galaxy S22, S22+, and S22 Ultra.

- Power the Galaxy S22 off completely.
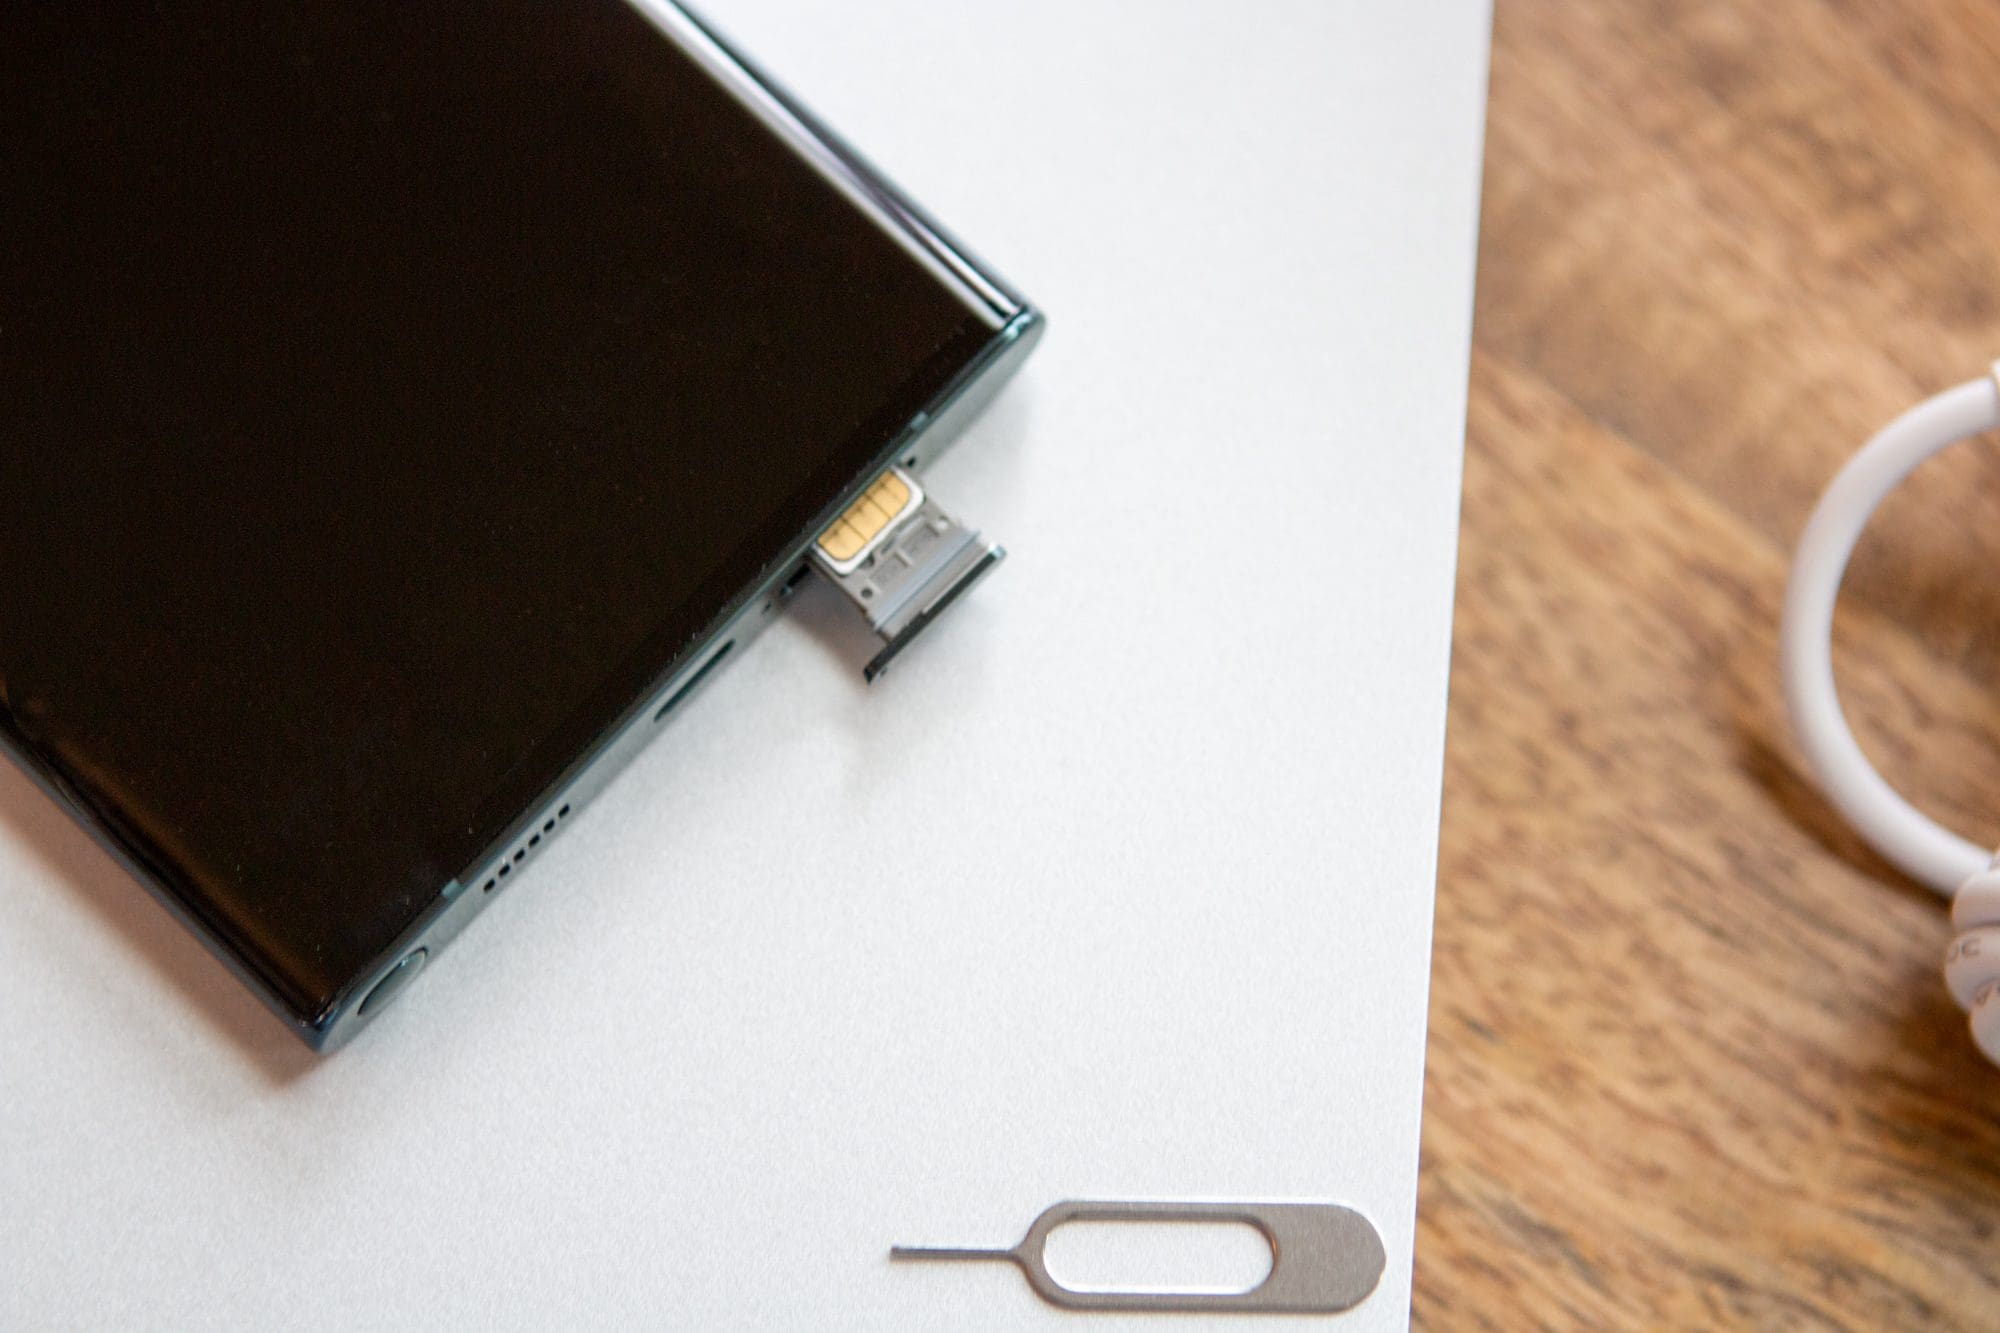
- Locate the eject hole on the outer frame of the device.
- Using the SIM eject tool (or paper clip), insert it, and gently push the button inside.
- The tray will eject.
- Carefully remove the tray from the frame.
- Remove the SIM card from the tray.
It’s important to note that when you remove the SIM card, a message notification pops up on your Samsung Galaxy S22 if it’s still powered on. This just lets you know that the SIM has been removed, and then goes away when the card has been re-installed.
When it’s time to put a new SIM card back into the Galaxy S22, it’s important to have the card lined up properly. If the phone is facing upwards, the gold contacts will be facing up. You can also line up the SIM Card with the outline in the tray.
Once the card is housed in the tray, line up the tray with the open hole on the outer frame. Gently push the tray back into place until it is flush with the remainder of the frame. Once the card is back, just press and hold the Side button to turn your phone back on and you are ready to get back to business.
Conclusion
The Galaxy S22 lineup is already slated to be some of the best smartphones of the year, with the Galaxy S22 Ultra leading the way. These devices are available on every major US carrier, and you can even purchase one unlocked. Going the unlocked route makes it so that you are able to switch between carriers whenever you want.


Not helpful! I put the pin in the hole but the tray will not eject. I see similar comments that no one has answered.
Thanks this was a great help. Removing the sim and reinserting instantly fixed the speaker when powered up again. I’d been on a short haul flight, it didn’t happen on outbound weirdly only inbound flight. I was worried it was water or sand from holiday so this was great news ????
Thank you. Very easy to follow instructions and complete.
Thank you.
Inserted paper clip in hole. Tray does not open. No eject tool included with phone.
Make sure you are putting the pin in the hole on the door. If you can’t find the door, then I’d ask if you’re sure your phone is a Galaxy S22.
I cannot find the slot for the SIM card I put the pin in the hole but nothing happens
Received my new s22 56 yesterday. Followed the instructions but sim tray will not eject.
Any tips please
I was told by a Verizon member that the Samsung Galaxy S22 doesn’t have a Simcard.
Yes!! Good easy to follow. Inserted the new sim card in under a minute.