
Brave browser has various options you can try to feel safe online. For example, you can disable or enable the option to automatically send usage to Brave daily. You can also do things such as have the browser clear the browsing data, cookies, and other site data.
The Privacy and security options don’t end there. There are more to choose from. Some only allow you to enable or disable the option, while others give you more options. Let’s look at the opportunity to set everything just how you like it.
Contents
How to Find the Privacy and Security Settings in Brave Browser
You can’t make any changes to your browser; you need to know where you can find the options in the first place. To find Privacy and Security, click on the three-lined menu at the top right and go to Settings.

Once in Settings, click on the Privacy and Security option on the left. You’ll see various options that you can simply enable to disable, such as:
- Autocomplete searches and URLs
- Use Google services for pushing messaging
- Allow privacy-preserving product analytics (P3A)
- Automatically send daily
- usage ping to Brave
- Automatically send diagnostics reports
The other privacy and security features you see offer more options. To see those, you’ll need to click on them—for example, Clear Browsing Data.
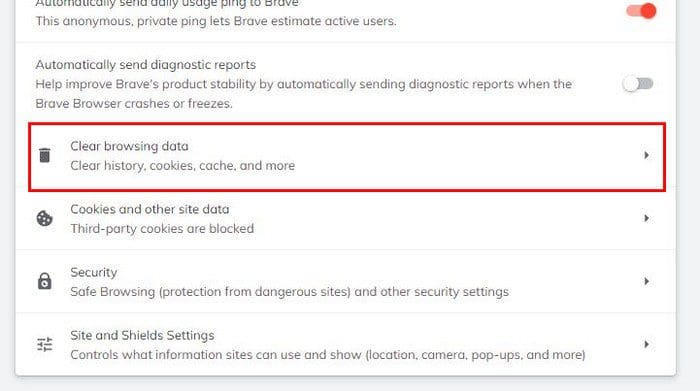
When you click on this option, you can choose from three different options on how you can clear the browsing data. By clicking on the Basic tab, you can erase data such as Browsing history, Cookies, and other site data.

If you want to clear the data from a specific point in time, click on the Time range dropdown menu and choose from one of the options. You can choose from options such as:
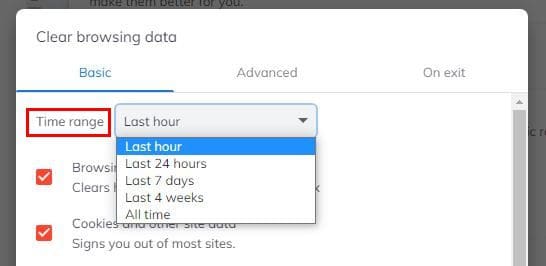
- Last hour
- Last 24 hours
- Seven days
- Four Weeks
- All Time
In the Advanced tab, you’ll see more options for choosing what you want the browser to erase. For example, you can choose from options such as:
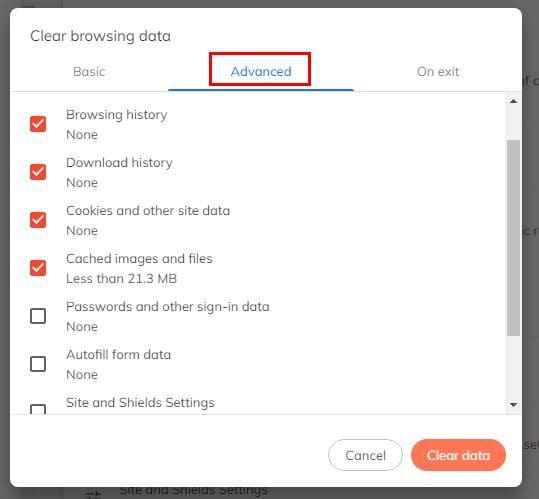
- Browsing history
- Download history
- Cookies and other site data
- Cashed images and files
- Passwords and other sign-in data
- Autofill for data
- Site and shields Settings
- Hosted app data
Don’t forget to choose the time range and click on the Clear data button. On the last tab (On Exit), you’ll see the same options to clear. Click on the ones you’re interested in, but what will happen with this option is that every time you close the browser.
How to Clear Cookies and Other Site Data
To stay safe and erase the cookies and other site data, you’ll need to go to Settings > Privacy and security > Cookies and other site data.

If you’re not sure which option to choose, not to worry. When you click on an option, there is a brief explanation of what that option does. For example, if you allow all cookies, sites you visit can use those cookies to improve your browsing experience, to keep you signed in, or to remember items in your shopping cart.
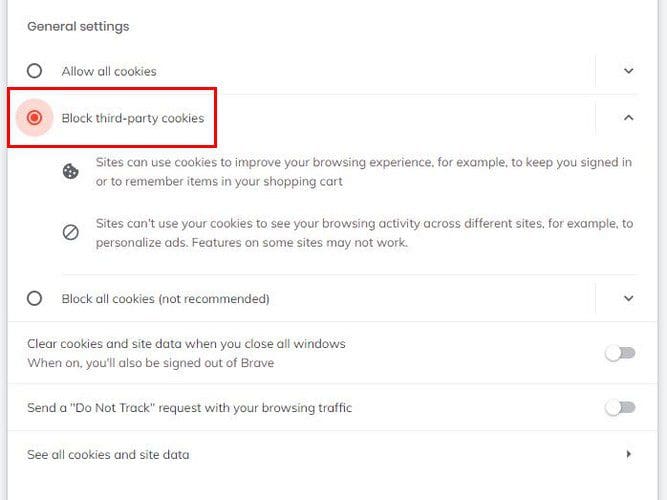
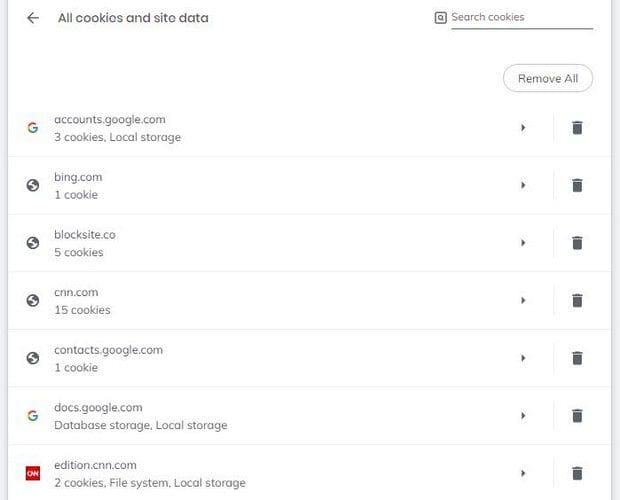
Below the option to block or not the browser cookies, you’ll also see the option to clear them. You can also enable a Do Not Track request and see all cookies and site data. In this last option, you can see all sorts of information about a site. There’s also an option to erase one or all the sites from the list.
At the bottom, you’ll see a section where you can add sites that can always use cookies. And the ones that can’t. Click on the Add button and add the site.
Useful Security Settings
Security settings worth looking into are in the Security section once you’ve accessed Privacy and security. In the Security section, you’ll see a section called Safe Browsing. If you enable the Standard protection feature, it will detect and warn you about dangerous events when they happen. It’ll also check URLs with a list of unsafe sites stored in Brave.
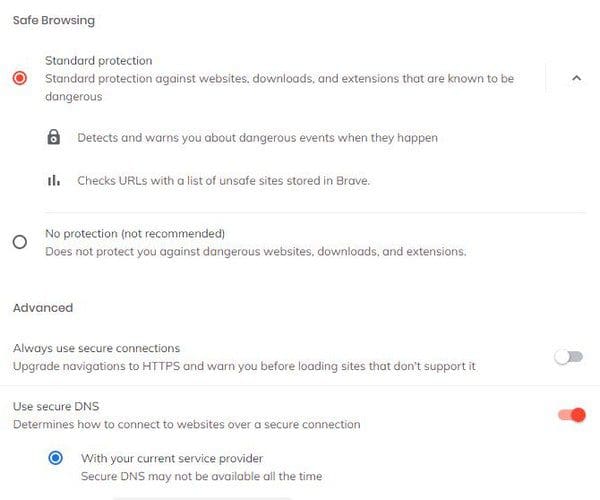
In the Advanced section, you can also enable an option to always use a secure connection and the Use secure DNS option. This last option will determine how to connect to the website over a secure connection. You can also manage certificates and Phones.
The Manage Phones section will show you the phones you have synced. But, it won’t show you an option to sync them from there. You’ll need to go to the Sync option in the Settings list.

Once you’re in Sync, click on the Manage your synced devices option. Under the Device List, click on Add new device, and you’ll see a QR code that you’ll need to scan. Once the process is done, you’ll see your device in the Device List section. If you ever change your mind and want to erase the device from the list, click on the X to the side.

In the last option (Site and Shields Settings), you can do things such as manage permissions and deny sites permission to send pop-ups.
Conclusion
There are many things you can do to stay safe online. It may take some time, but once you’ve done everything will be just the way you like it. You can do things such as manage permissions, clear browsing data, manage cookies, and more. What do you think you’re going to start with first? Share your thoughts in the comments below, and don’t forget to share the article with others on social media.